Manage a second charging site from the same workspace
Adding a second charging location should make your operation easier to organize. The useful first result is a clearly named site, the right chargers assigned to it, and a way to review its activity without mixing up locations.
In EVCharge.mobi, a site represents a physical location. A workspace owns the sites, chargers, users, tariffs and reports for a charging organization. If your existing organization is expanding to another address, begin by checking whether that location belongs in the workspace you already use.
Start in the right workspace
Before choosing Add site, check the active workspace in the portal. If you manage several organizations, use the workspace switcher to select the intended one. Each workspace has its own data and permissions; opening another branded portal is not a substitute for checking that selection.
For example, an operator might manage an office and a warehouse in one workspace, with each address represented by its own site. This is an illustrative setup, not a customer story. A site groups a location's chargers; it should not be treated as a separate administrator-permission boundary.
Review workspace organization before creating another workspace simply because you are adding another address. Keep the structure understandable to the people who will use it every day.
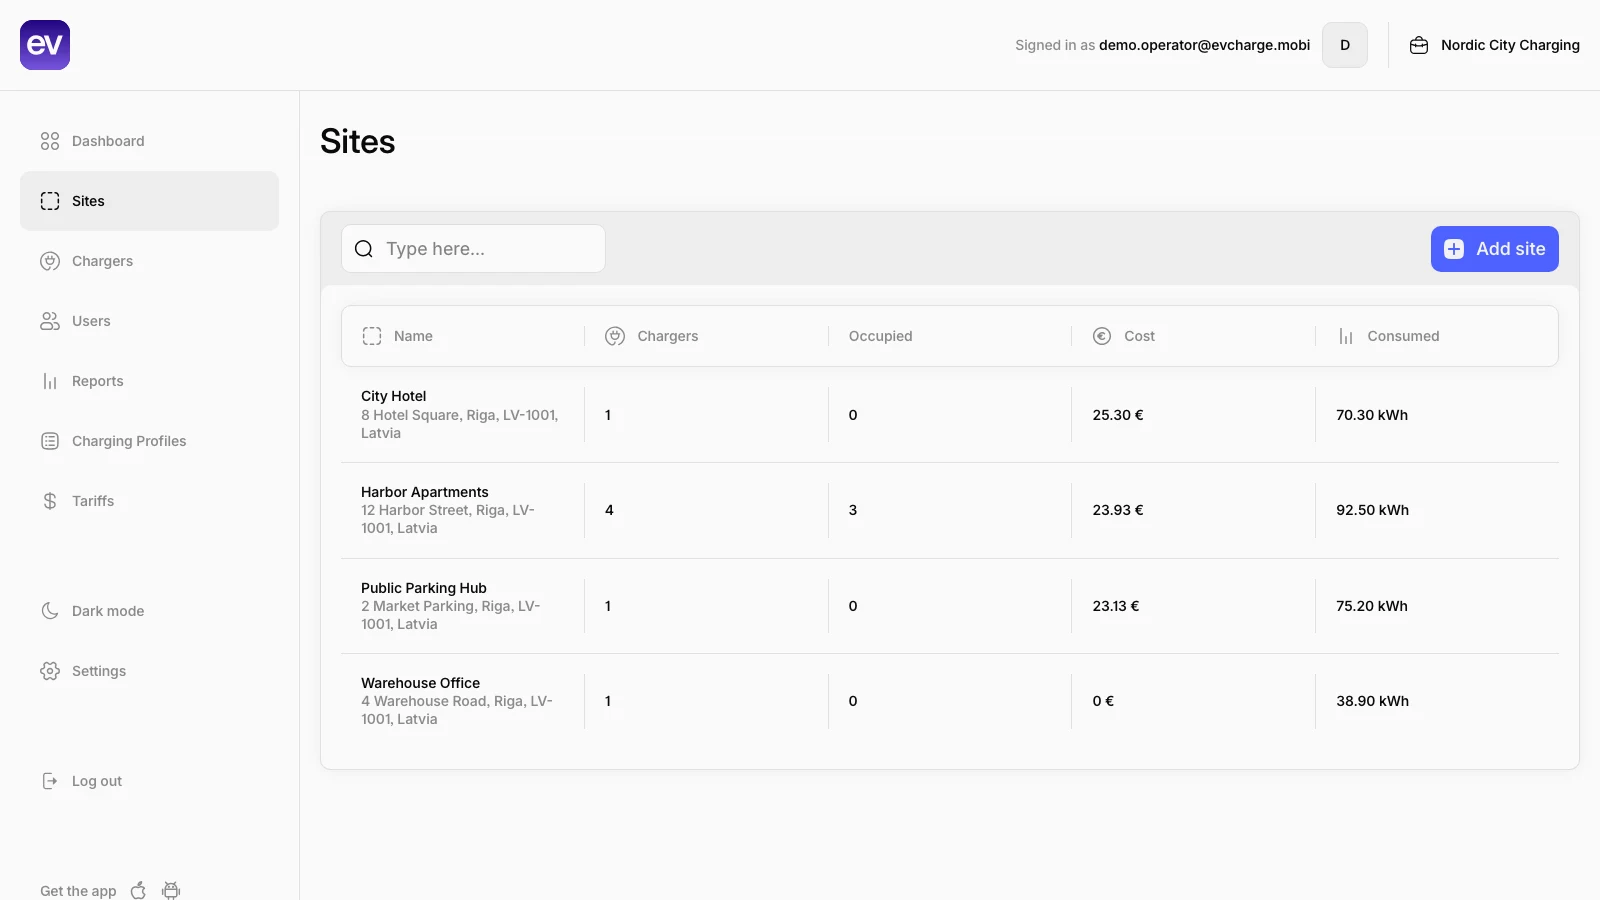
Public demo with illustrative locations and values. Each row represents a site within the selected workspace. Use distinct names and addresses so your team can open the intended location. Open the image at full size to inspect the columns.
Check access and capacity before setup
You need permission to create sites in the selected workspace. Permission to view a site is not enough, and full workspace permissions do not automatically grant every plan feature.
Choose Sites > Add site. The portal checks current capacity before opening setup. If it shows a plan-limit prompt, follow the guidance for the relevant billing account. Billing access is assigned separately from workspace permissions: someone who can manage sites may still need the account owner to handle a plan change.
If the capacity check fails, use its retry option. A failed check is not proof that you have reached a limit. The server also checks the allowance when the site is saved, so opening the form does not reserve capacity.
Give the location details people can recognize
Enter a distinct name, address and country, then select the correct timezone and location coordinates. Check the details rather than accepting defaults without review. After saving, open the site's overview and inspect its map position.
Accurate coordinates matter when chargers will be public. Creating the site does not itself make its chargers public: public charging has separate payment, tariff and plan requirements. The Sites guide describes the fields and the tabs available after creation.
Next, add the charger to this site through Chargers > Add charger. Use the exact OCPP identity and select the intended site. The planned charger's overview provides the generated server address to use in the charger's configuration. Follow the manufacturer's setup requirements and the charger connection guide.
A saved charger record is not evidence that the hardware has connected. If it stays Planned, check its server address, identity, password, network connection and OCPP settings. Once it connects, review its reported status and connector information; a connected charger can still report a fault. Do not create a second record as a shortcut for moving an existing charger between organizations—use the documented transfer workflow and review the destination settings.
Give the team a repeatable site review
Review the administrators who need to operate the expanded workspace. Give each person the relevant section permissions, using the permissions guide. Workspace administrator access and driver charging access are separate tasks; adding a colleague as an administrator does not replace your driver-access setup.
When charging activity is available, open Reports, select a recent date range and filter the on-screen view to the new site. Check that the expected chargers and sessions appear. If a charger is missing, inspect its site assignment before assuming the report is incomplete.
Keep one reporting distinction clear: the portal's site, charger and driver filters affect the on-screen view, while its downloads cover workspace sessions in the selected date range. A filtered table is not a promise of a site-only export. Export formats, history allowances and row limits still apply; the Reports guide explains the scope.
Your second site is ready for routine oversight when the location is recognizable, its chargers are assigned correctly, the team has appropriate access, and you can find its activity in Reports. Use that same review when adding the next location.